Shared mailboxes in Office 365 are mailboxes that more than one person may access at a time. There is no requirement for a unique username to be used with them; instead, the user signs in with their existing login. In addition, a shared calendar is included when you use a shared mailbox.
You may add as many calendars as you like to the shared mailbox as long as you are an admin. This app keeps track of several elements of your personal or professional life in one spot. You may, for example, construct separate calendars for professional and personal activities. This can help you stay on top of things and avoid scheduling conflicts.
Do you require a calendar for your place of employment and the one you use for your personal life? What if you were able to share a single calendar with the person you share your life with, or even with your entire family? It turns out you can! A shared mailbox may accommodate many calendars making it the ideal instrument for organizing a hectic family home. Please continue reading to learn how to set it up properly.
Is it possible for a shared mailbox to have many calendars?
If you’re using Microsoft Outlook with a shared mailbox, you might be curious whether it’s feasible to have more than one calendar linked with that mailbox. The correct response is “yes” You are free to add as many calendars as you wish to a shared mailbox, and each calendar may have its rights and sharing settings according to your preferences.
This may be an excellent method to keep track of various events or projects that team members are working on, and it can also help decrease the amount of email clutter in the inboxes of everyone on the team.
Remember that you must collaborate with the other people using the shared mailbox to know which calendar corresponds to which individual or project.
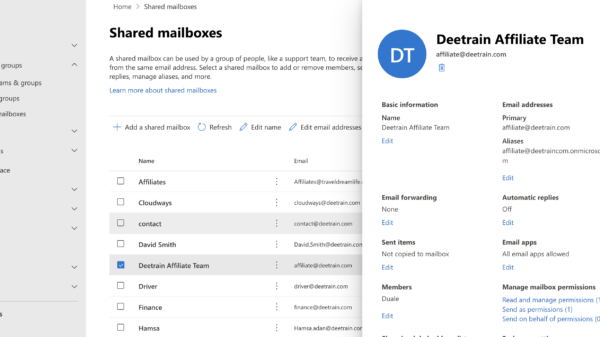
Create Shared Calendar for your Organization
Creating a shared mailbox is all required to set up a shared calendar list that everyone can access. The procedure is as follows:
Step 1: Sign in to admin.microsoft.com.
Step 2: Navigate your way to Admin > Groups.
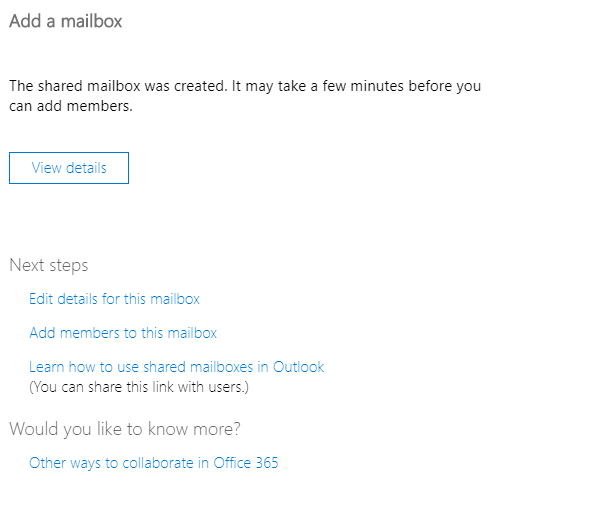
Step 3: Click the Shared Mailboxes tab on the Groups page and click the Add a mailbox button.
Step 4: On the screen that allows you to add a shared mailbox, enter the following information:
Step 5: Mailbox name This name is displayed in the address book, on the To field of emails, and the Shared Mailboxes page’s list of shared mailboxes. It is necessary and ought to have an intuitive design so that people can understand what it is.
Step 6: Email address: Enter the associated email address to access the shared mailbox. It’s a prerequisite.
Step 7: To add users to this mailbox, click the Add button and then choose Add members.
Step 8: Enter the administrator’s name that you wish to add into the area designated for the search, and then click the Search button. The new member has been added to the roster.
Step 9: Click the Finish button when you have finished adding new members.
Note: If your company creates new users who need a membership to this shared calendar or contact list, you will need to add those new users to the membership list of the shared mailbox.
A shared calendar may be accessed using a shared mailbox, but how do you do that?
If you have the right to access a shared mailbox, the shared calendar that is linked with the shared mailbox will be added to the list of Shared Calendars that appears in the Calendar Folder window of your Outlook client.
The steps below should be followed to access the shared calendar.
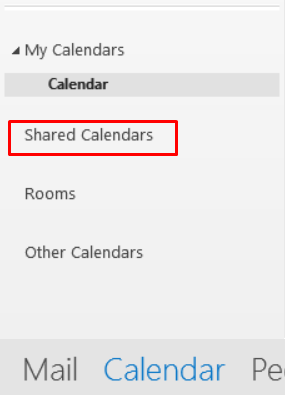
1. Click the Calendar option that is located in the Outlook menu that is located in the bottom-left corner of the screen.

The page for your calendar is presented in the main display area, and there is a window for folders on the left side of the screen. In the Folder window, the needed shared calendar name must be displayed beneath Shared Calendars and above the name of your primary calendar.
2. If the name of the shared calendar is already visible in the Folder pane, you may skip Steps 3 through 6 and proceed straight to Step 7 instead. If the name of the shared calendar is not visible, then continue reading for more instructions.
3. Find the Shared Calendars folder in the Folder pane, then right-click on it.
4. To add a calendar, select the option to do so from the menu, then choose Open Shared Calendar.
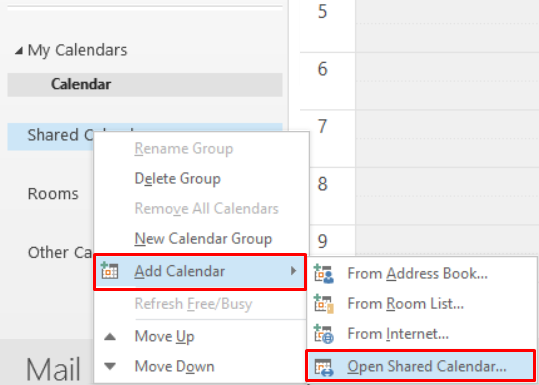
5. The dialogue box labeled Open a Shared Calendar will now display.
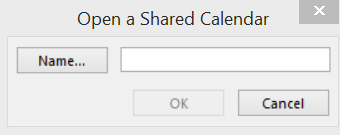
6. After you have typed in the name of the shared calendar, click the OK button.
In the Folder pane, the name of the shared calendar will be shown.
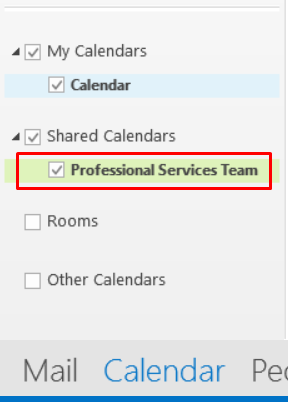
7. To access the shared calendar, you must de-select the checkbox associated with your primary calendar before selecting the one that corresponds to the shared calendar.
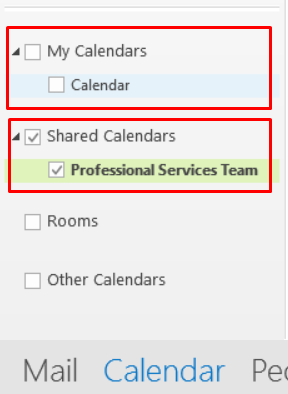
The shared calendar is displayed.
How to Share a Calendar?
Step 1: Choose the Calendar option in Outlook.
Step 2: Choose the shared calendar from the options under the “My Calendars” folder pane.
Step 3: Click the Share button in the top ribbon to share your calendar.

Step 4: Choose the calendar you want to make available to others.
Step 5: Click the add button located in the permissions tab, then add the group of people with whom you want to share the calendar. After doing so, choose the permissions you wish to provide to that group.
Outlook Web App
Step 1: Sign in to your account on outlook.office.com.
Step 2: Select and Open another mailbox after clicking the profile icon in the screen’s upper right corner.
Step 3: Select the new mailbox you just made, then click the Open button.
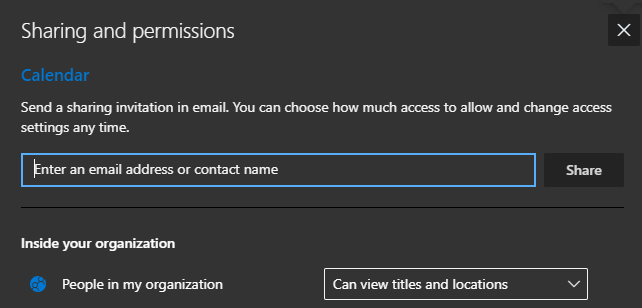
Step 4: After clicking the calendar icon, select Share from the menu that appears in the upper right corner.
Step 5: Select the individuals or groups to whom you wish to grant access to the calendar, and then assign the required rights to each.
Bottom Line
So, is it possible for a shared mailbox to house more than one calendar? The correct response is “yes” It is possible to generate an unlimited number of calendars, each of which can have a unique set of rights. This provides you with a great deal of leeway in terms of how you manage the timetable for your staff.


