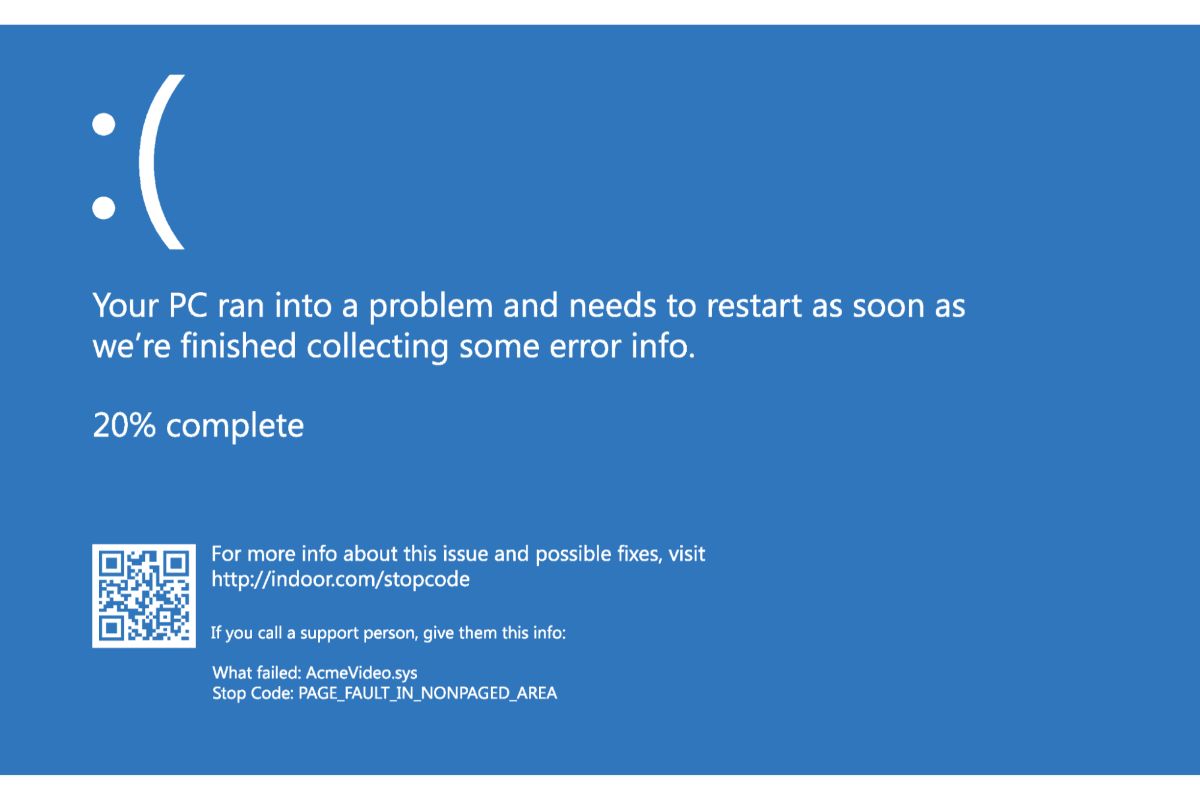
Restarting a system automatically without any notice or prompts is annoying. In certain cases, sudden system shutdowns might damage the integrity of data or files that you are working on. In Microsoft Word, Photoshop, or any other application, it is a vital task or project.
Your situation must be characterized, and you must identify your problem before determining which of the possibilities best applies to you. Disabling the auto restart, updating your drivers, and scanning for hardware faults are only a few techniques to repair the laptop Restarting issue.
It might be tough to determine what is causing your laptop to reboot often. Many customers, however, have claimed that the problem arose after they installed a Windows 10 upgrade. Because this issue is so prevalent, there are several ways to correct it. With that stated, we’ve compiled a list of ways to assist you in repairing the reboot cycle on Windows 10.
How Can I Prevent My Laptop From Restarting?
In general, laptop rebooting unexpectedly can be caused by various factors, including a malfunctioning automatic restarting feature, overheating or a defective power supply, bad RAM, a virus or malware issue, driver issues, a Windows update, and so on.
Many customers have recently complained about their PCs restarting randomly – some have stated that their laptop randomly restarts with no blue screen or error message. In contrast, others have stated that Windows 10 randomly restarts for updates, among other things.
Some users have experienced this scenario: the laptop has erased all of its data following a restart.
Here Are Some Easy Steps to Fix the laptop from restarting:
Method 1:Disabling the auto-restart feature
When trying to resolve an infinite reboot cycle after installing the Windows 10 update, you should take the first step to stop the automatic restart function.
This will allow you to prevent the laptop from resuming for a short period. You will be able to efficiently try the other strategies that will help you permanently resolve the problem in this manner. The steps are as follows:
Start your laptop by pressing the power button.
Press and hold the F8 key until the Windows logo appears on the screen. The boot menu should be displayed as a result of this.
Safe Mode should be selected.
Start your laptop in Safe Mode, then hit the Windows Key+R combination.
Click OK after typing “sysdm. cpl” (without quotation marks) in the run dialogue box.
Select the Advanced tab from the drop-down menu.
The Settings button may be found in the Startup and Recovery section of the menu bar.
The Automatically Restart option may be found under the System Failure section. If it has already been checked, uncheck it. It is important to note that the checkbox next to “Write an event to the system log” must be ticked. This function keeps track of any faults that occur in your system.
By selecting OK, you will save your changes.
As previously said, this will only provide a temporary solution to the Windows 10 reboot cycle.
As a result, we recommend that you use the procedure outlined below to proceed.
Method 2: Erasing corrupted registry entries
You must be sure to finish the process without making any mistakes before proceeding with our instructions. It’s important to remember that the Windows Registry is a highly sensitive database.
Even misplacing a comma might result in serious problems with your PC! Therefore, a one-click solution such as Auslogics Registry Cleaner would be recommended for your needs. This software looks for duplicate or damaged registry files on a laptop’s hard drive.
You can repair the continuous reboot cycle after installing the Windows 10 upgrade with a single click of a button. Remove any unnecessary entries from your registry to prevent your laptop from restarting.
The following are the actions you may take if you choose to do it manually:
To search, use the Search button.
Enter the command “Regedit” (without the quotation marks) and press Enter.
Select the following path: HKEY LOCAL MACHINESOFTWARE>Microsoft Windows> NT>Current Version>Profile List from the Start menu.
Be cautious to generate a backup of your registry before proceeding with any modifications. This means that you will be able to correct any mistakes you may make.
Look through the IDs in the ProfileList and keep an eye out for those that include ProfileImagePath. If you come across any, remove them.
Exit the Registry Editor by pressing the Esc key.
Check to see if the problem has been resolved by restarting your laptop.
Method 3: Make sure your drivers are up to date
Having out-of-date drivers might cause your laptop to become stuck in a reboot loop, which is quite frustrating. This is because your gadgets are unable to connect with your system effectively.
Due to this, it is critical to ensure that your drivers are up to current at all times. It is possible to perform this task manually or with a one-click tool such as Auslogics Driver Updater.
It takes a substantial amount of time to update your drivers manually, so plan on spending some time on this task. Getting the correct driver versions for your machine requires visiting the manufacturer’s website and searching through their driver installations.
This may be a time-consuming process. As a result, we strongly recommend that you utilize a Driver Updater. This application will automatically recognize your system and search for drivers that are compatible with your system configuration.
You may easily update your drivers to the most recent versions suggested by the manufacturer with a single click of a button.
Step 4: Uninstall and Reinstall the Graphics Driver
You may notice your laptop restarting automatically or sporadically if you have an incompatible graphics driver, which may result in certain problems. To resolve this issue, you need to replace or upgrade your graphic driver.
Select “Device Manager” from the Start menu by right-clicking on the button.
Then, from the right-click menu, select Uninstall from the list of Display adapters.
Select Delete the driver software for this device from the Confirm Device Uninstall box and then click OK.
Windows will automatically detect and install the appropriate driver once you restart your laptop. Another option is to download and install one from the manufacturer’s website.
In addition, you have the option of updating the graphics driver to the latest version. After right-clicking the driver in the Display adapters section, select Update Driver Software from the context menu. Follow the on-screen prompts to select a method of searching for driver software and complete the upgrade.
device manager has to be updated with the latest driver software
The “laptop sporadically restarts” problem may be resolved once the re installation or updating of the graphics driver has been completed.
Step 5: Modify the Advanced Power Configuration
Change the power settings in Windows 10 if you are experiencing random or automated restarts. This will solve the problem.
Type power options into the Search box and then select Power Options from the results list to begin.
2. Select Change plan settings > Change advanced power settings from the drop-down menu.
The Processor Power Management option may be found by scrolling down.
4. Select Minimum processor state from the drop-down menu, and enter 5 percent for both On battery and Plugged in.
5. To save your changes, click OK.
Step 6: Scanning Virus
Generally speaking, this is the most typical reason for a laptop to continually restarting. A virus may be blamed when the problem persists even though you have verified all of the other criteria stated above.
If you are experiencing issues resulting from a virus infection, you should enable the boot-time scan option. The next time your laptop restarts on its own, this function will automatically do a boot-time scan. This function will also remove viruses from your laptop before they can infect your laptop.
Another approach is to start your laptop in safe mode while it is already running. Once your laptop has properly rebooted, this will prevent any virus from being loaded onto the system.
As soon as the laptop is in safe mode, you may run a complete virus scan on it. Then, make use of your anti-virus software to eliminate any potentially dangerous files from your machine.
Alternatively, you might try reformatting your laptop’s hard disc. This will assist in removing all viruses from your laptop and the establishment of a clean slate. However, you should only reformat your laptop after you have exhausted all other alternatives and are still unable to resolve the problem.
Checking Hardware Problems
A malfunctioning piece of hardware may cause a laptop to continually restarting in certain circumstances. We’ve compiled a list of some of the potential hardware issues you should look into:
Ram
When there is a problem with the RAM, it might result in various difficulties, including frequent and unexpected reboots. It’s possible that the RAM has issues or that dust has accumulated on the RAM socket itself.
Generally speaking, if your laptop is going to restart and you notice that it is making a beeping sound, this is an indicator of an issue with the RAM.
To resolve this issue and prevent your laptop from rebooting, begin by removing the RAM from its slot and reinstalling it. Make certain that the area is completely clean before reinstalling the RAM.
After you have cleared the RAM, check to see if the problem still exists or not. If the problem continues, it is recommended that you consult with a laptop repair professional.
Check if Processor has become overheated.
When a laptop continues restarting, one of the most typical problems is an overheated processor, one of the most prevalent problems. Several factors contribute to CPU overheating, and one thing is certain: when this occurs, it causes a slew of issues. A laptop that reboots unexpectedly and often can be caused by an overheated processor, which is true.
You can open your laptop and clean the CPU if you are experiencing this problem. Make certain to clean the processor and any surrounding components.
External Devices
Remove all of your external devices from your laptop. After that, restart your laptop and check whether it is no longer stuck in a rebooting loop. If your unit is now correctly operating, it is likely that one of your external devices has malfunctioned and caused the problem.
Putting them back into the laptop one at a time will help you figure out which one is. Make careful to restart your laptop after each device to discover which device is causing the problem.
Make sure the power charger is working properly.
Whether none of the methods listed above help you resolve the problem of the computer restarting randomly, you can check to see if a power problem is causing the random restart in Windows 10. Whether this is the case, swap out the old power cords or Power Charger and check to see if your system is resuming properly.
Conclusion
Please keep in mind the reasons listed above why your computer may reboot itself on and off during the day. You will be able to avoid the same circumstance from occurring again in the future in this manner.
A smart suggestion is to do frequent and proper maintenance on your computer or laptop as well. Taking this simple step can save you a great deal of difficulty in the long term.


